

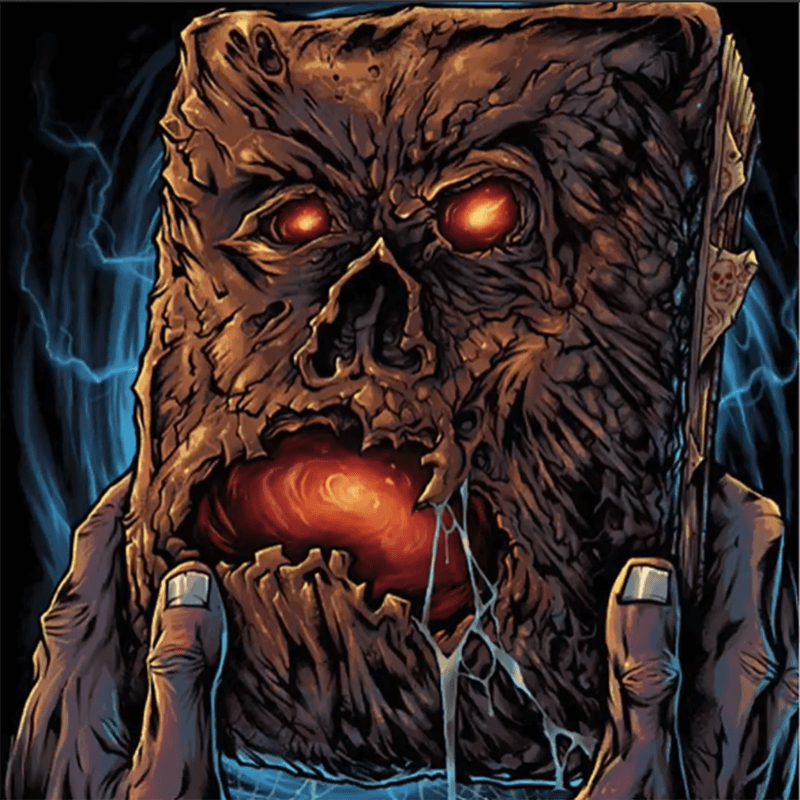
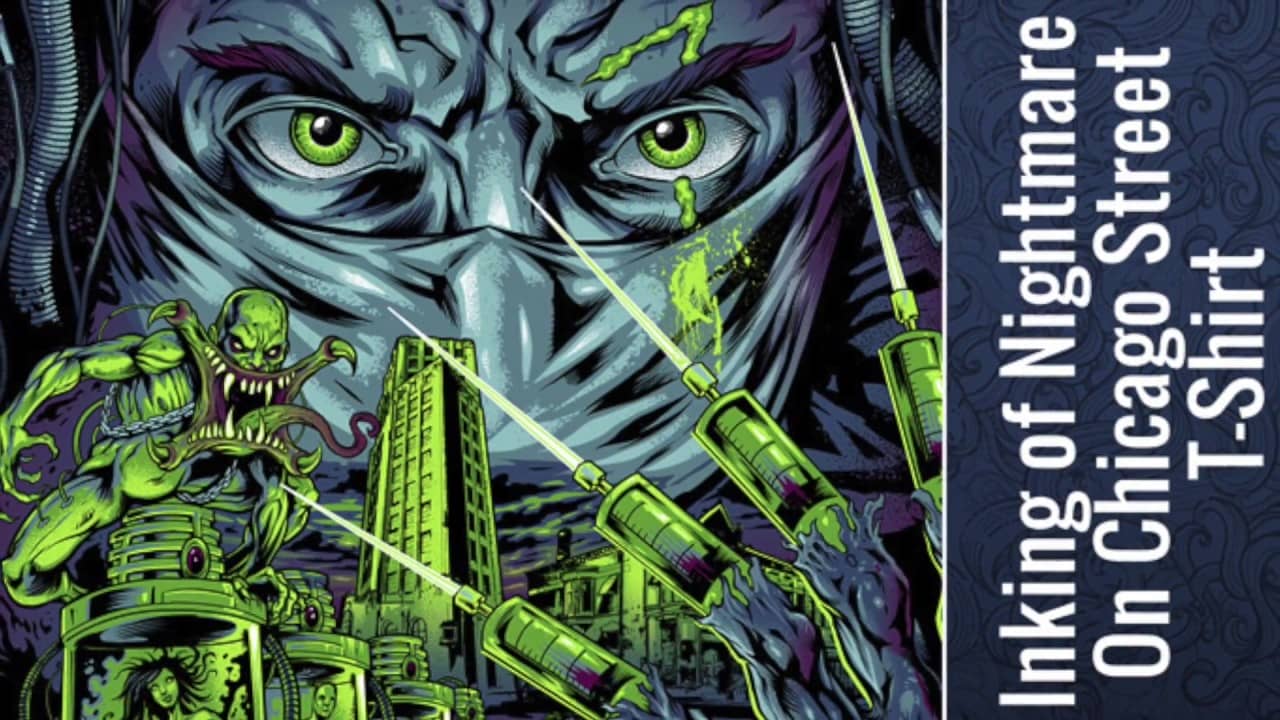
Artwork by freelance illustrator Brian Allen of FlyLand Designs
Brian Allen2025-08-27T10:25:56-04:00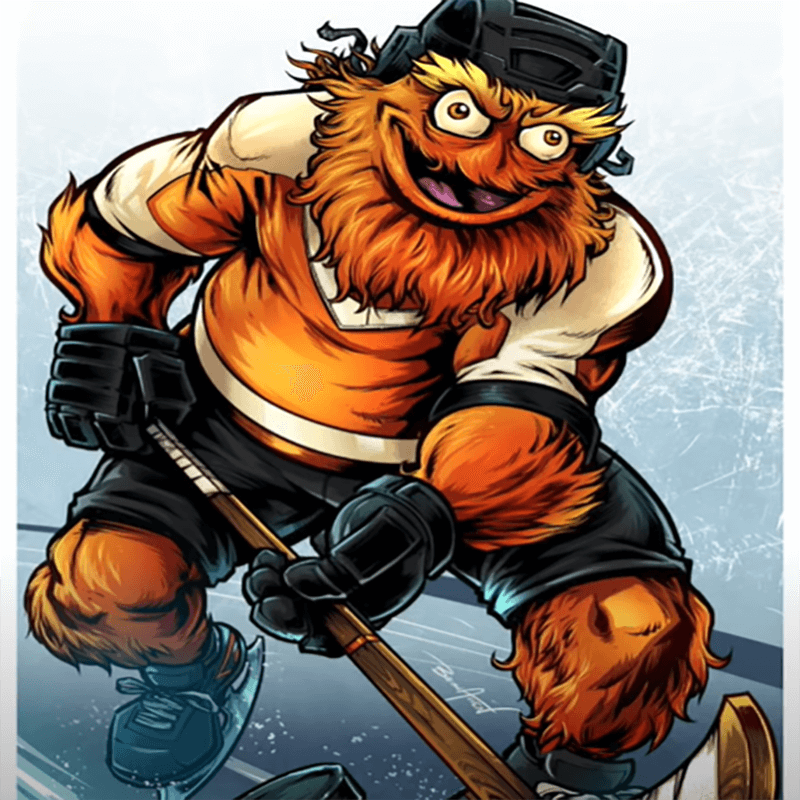
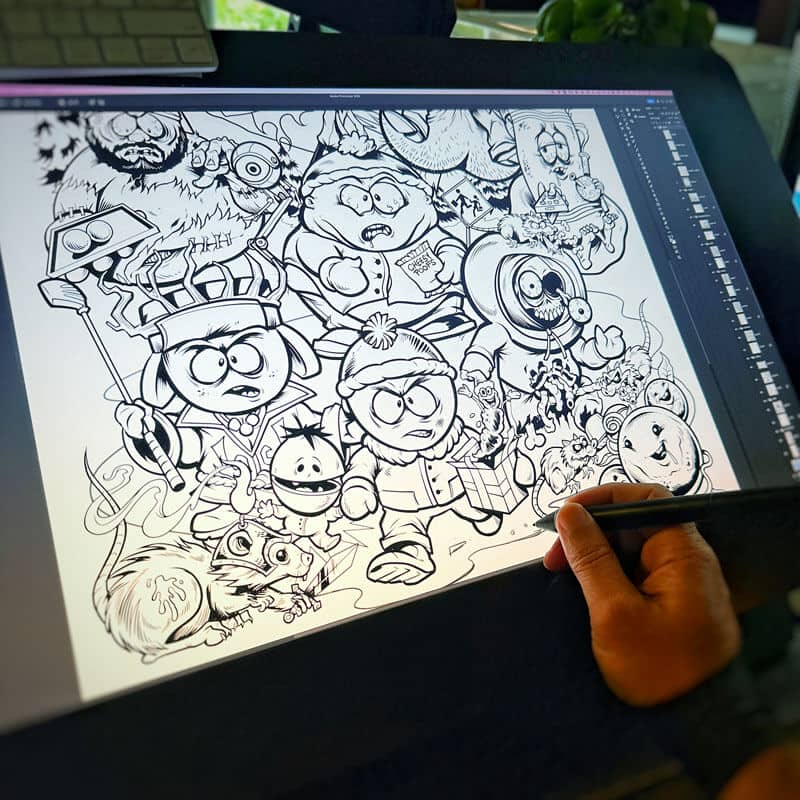
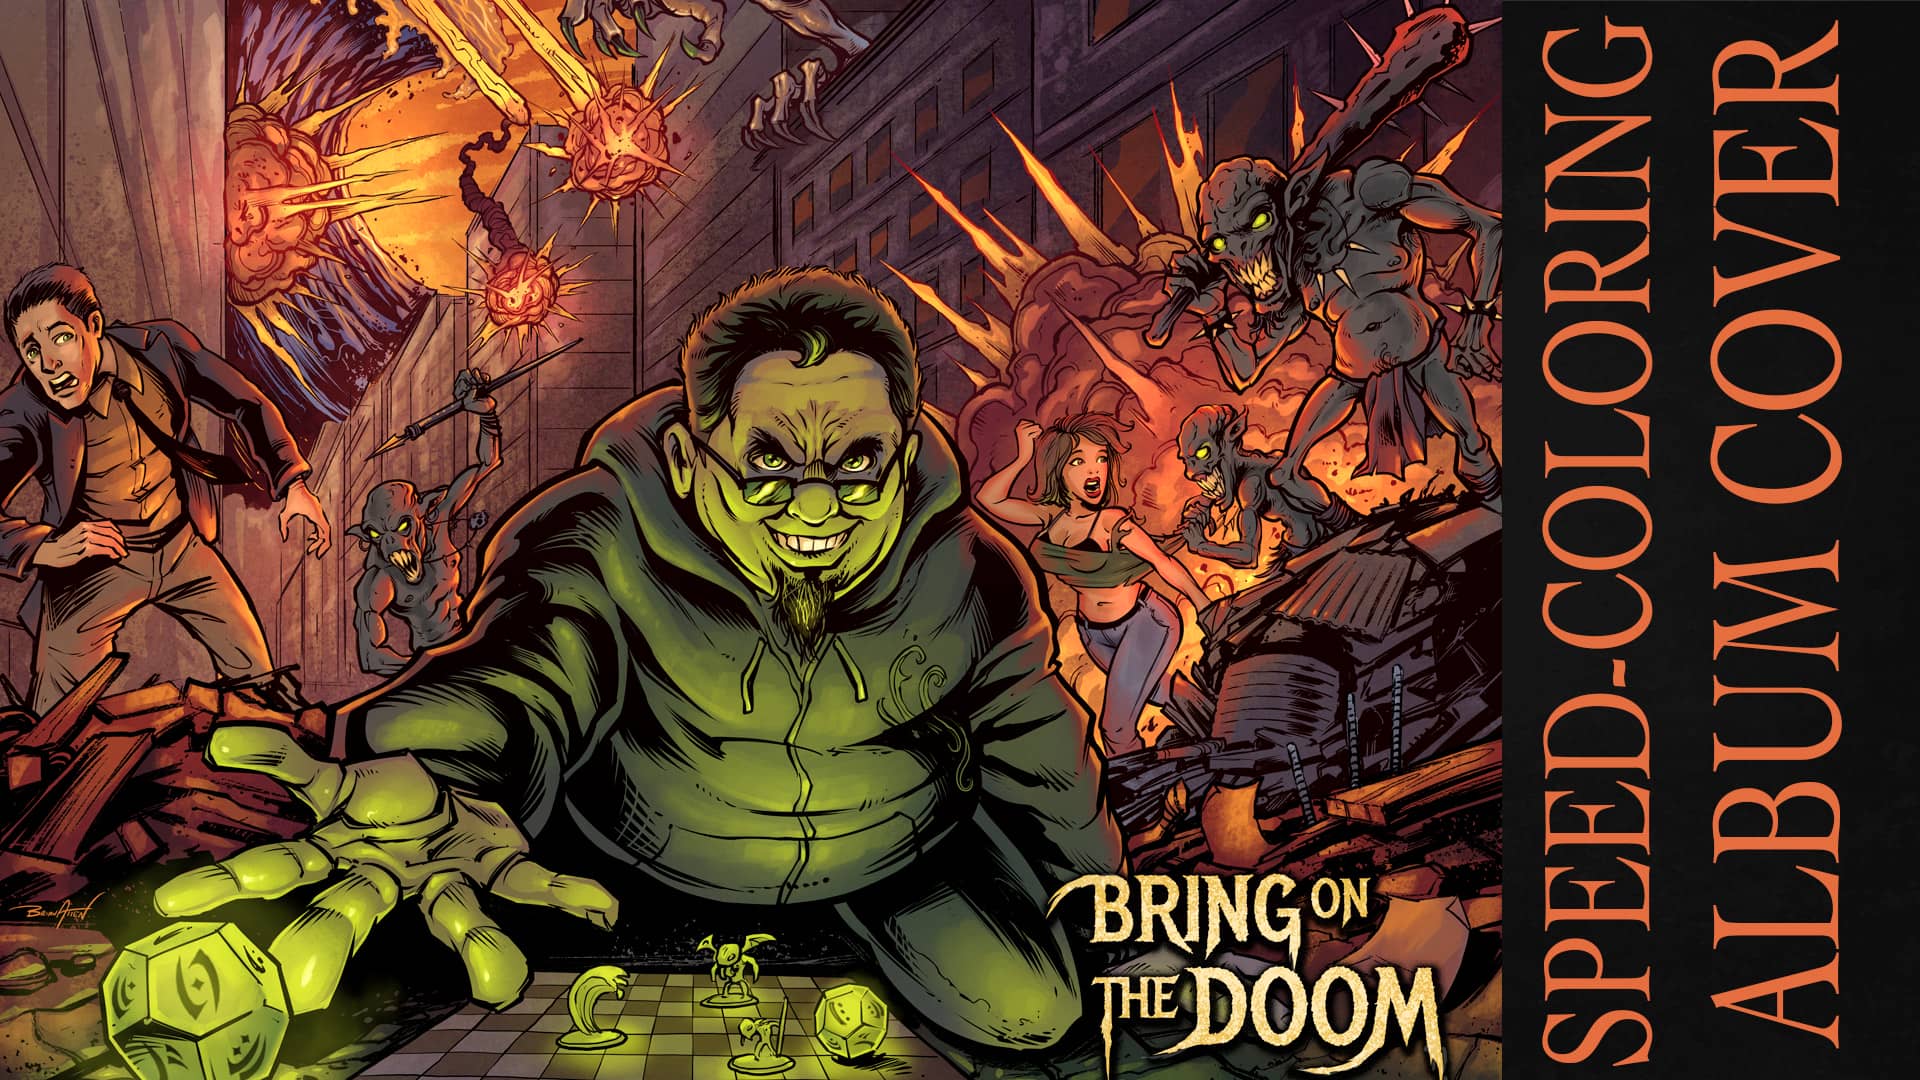
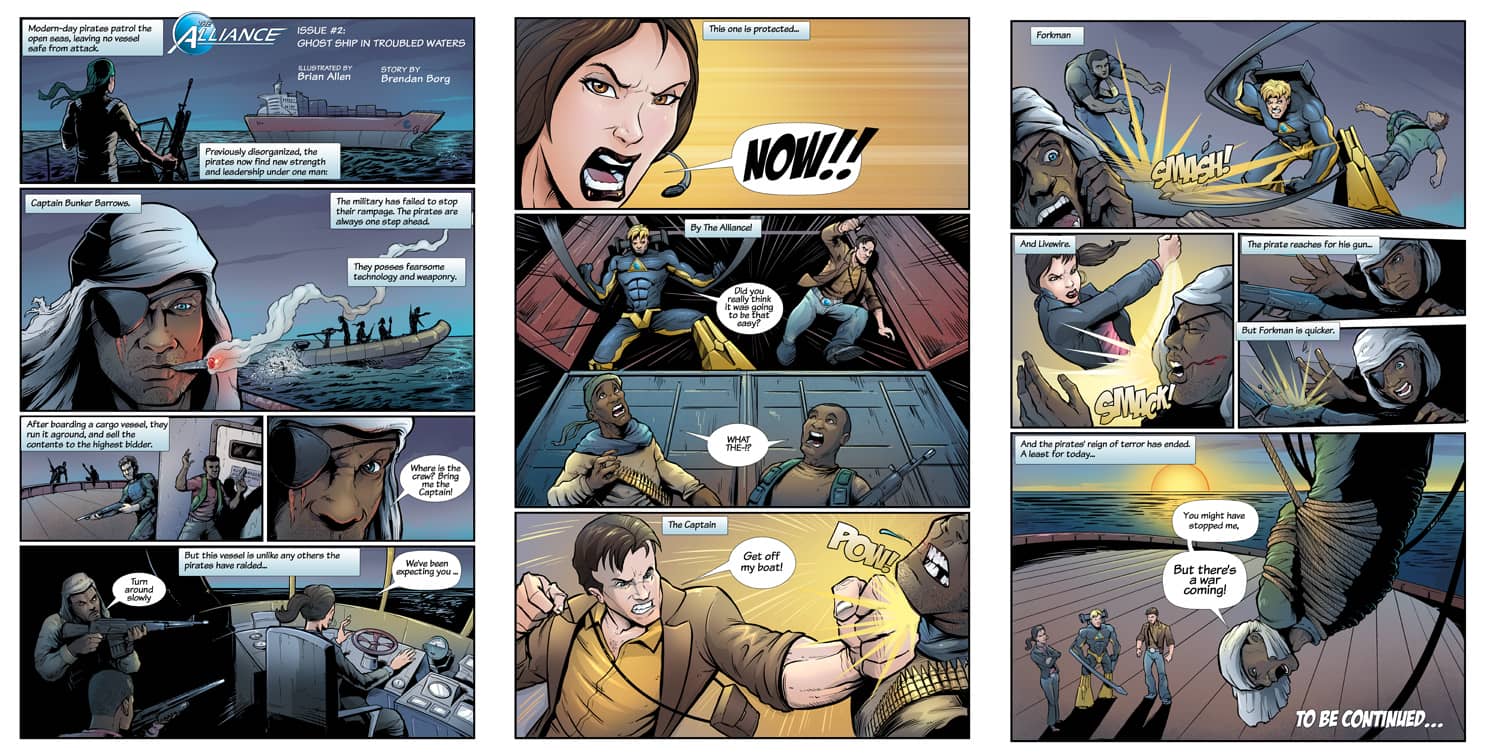
Creating Gritty: Interview Preview with Brian Allen on Adventures in Design!
Brian Allen2025-08-27T10:26:42-04:00
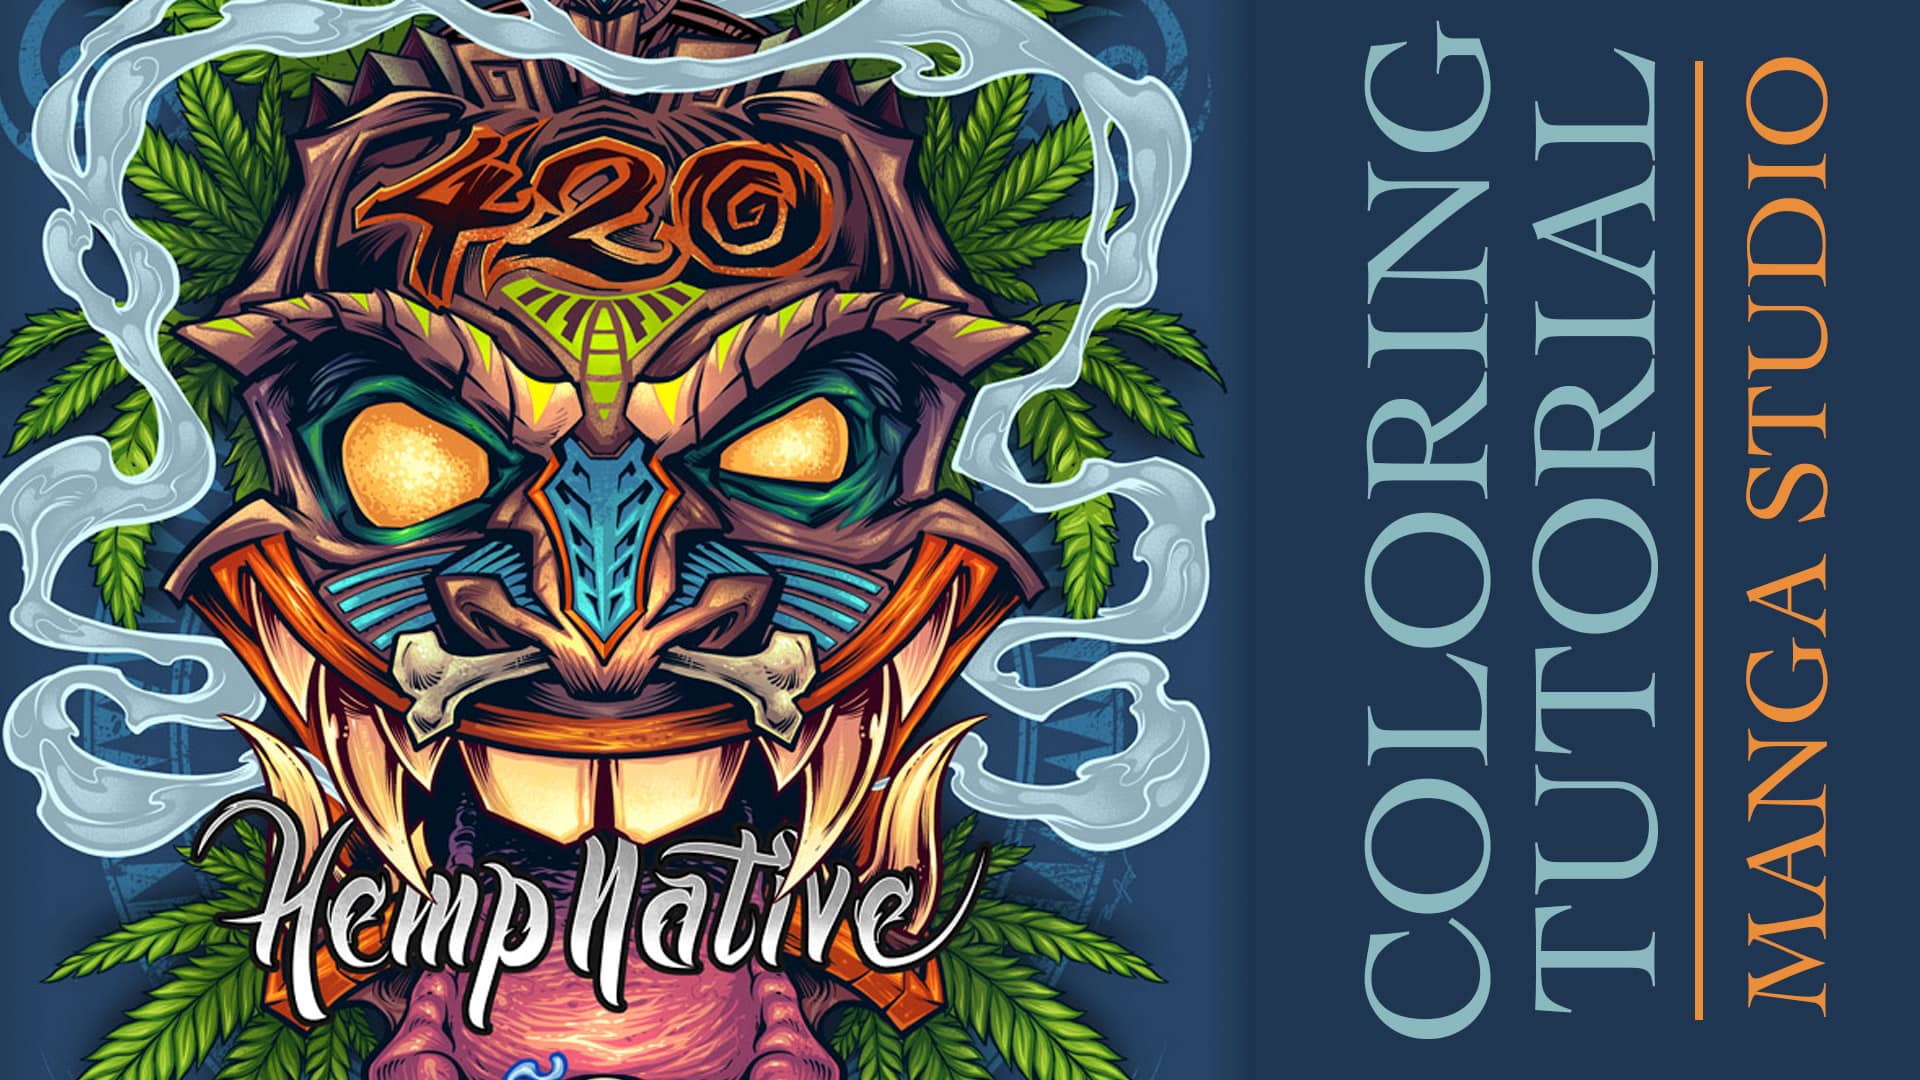
Artwork by freelance illustrator Brian Allen of FlyLand Designs – Jack Herer Cup
Brian Allen2025-08-27T10:26:48-04:00
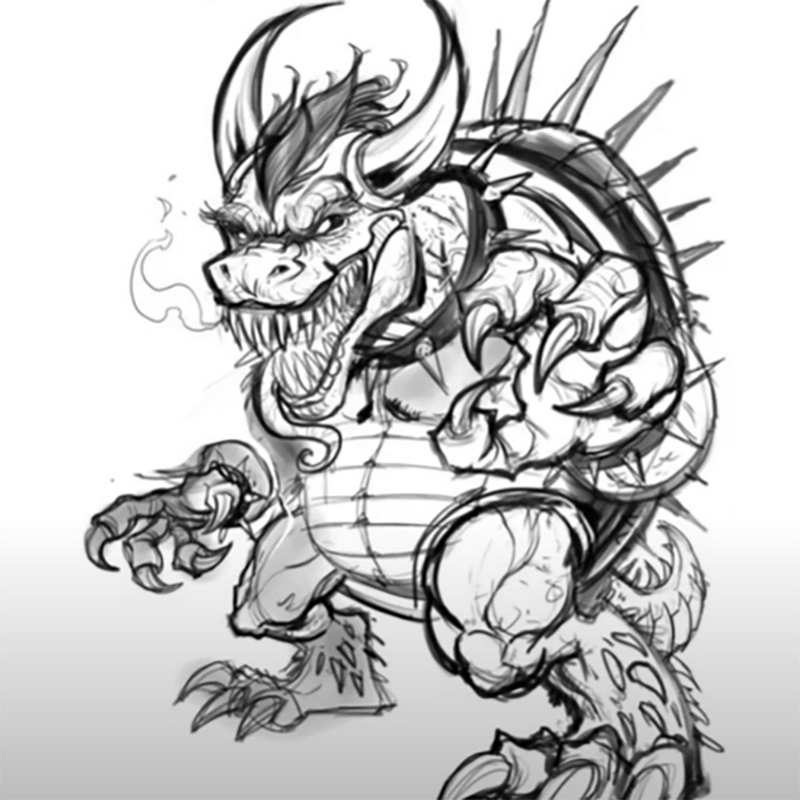
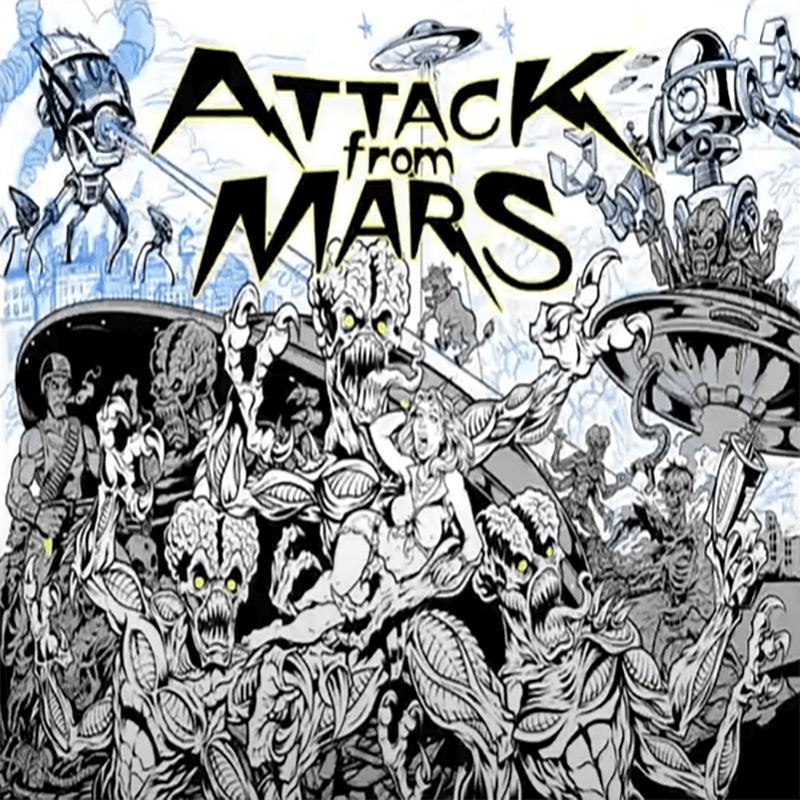

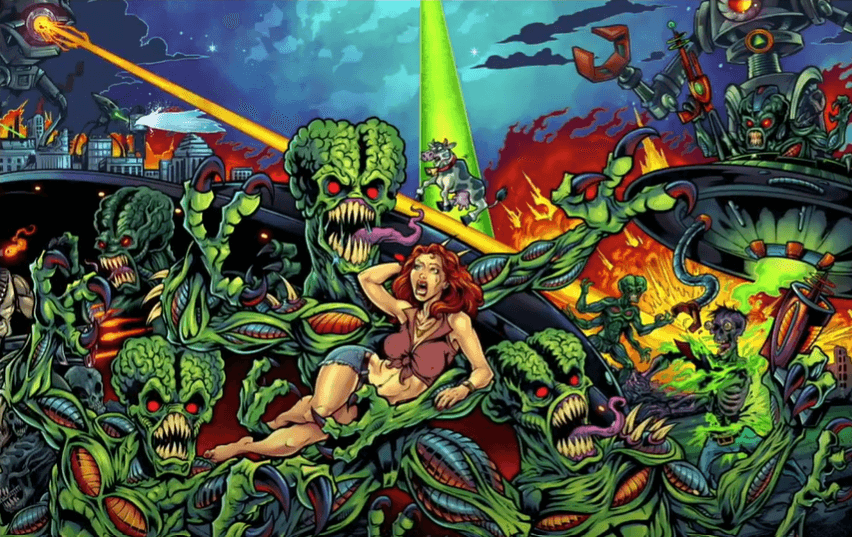
Artwork by freelance illustrator Brian Allen of FlyLand Designs – Attack From Mars Redrawn
Brian Allen2025-08-27T10:27:43-04:00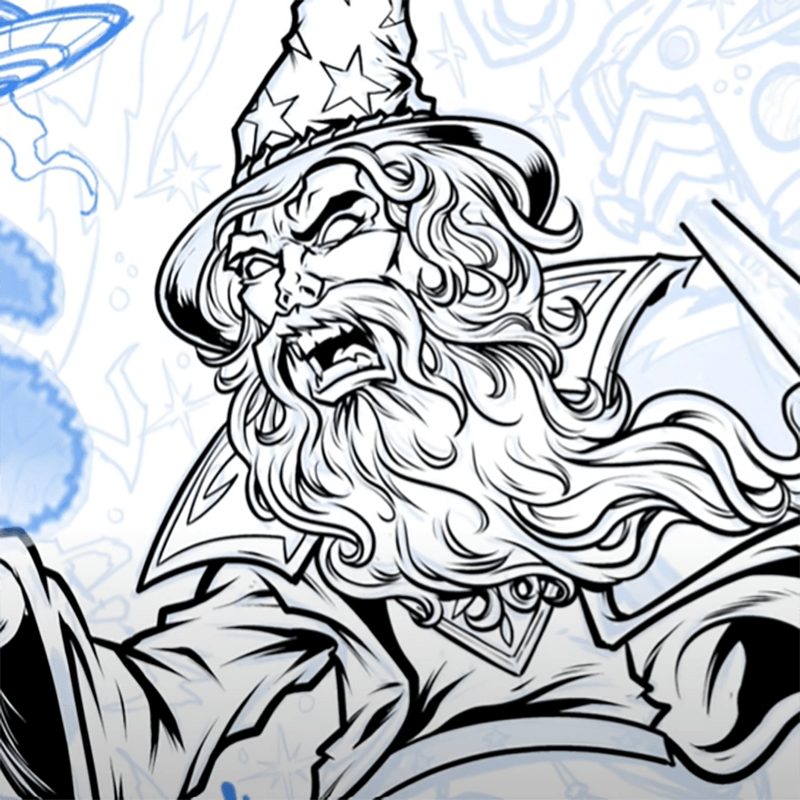
Speed inking of the officially Licensed Medieval Madness Alternative Backglass.
Brian Allen2025-08-27T10:27:59-04:00
Speed-Inking GiG Poster illustration for Umphrey’s McGee band drawn in Clip Studio Paint
Brian Allen2025-08-27T10:28:50-04:00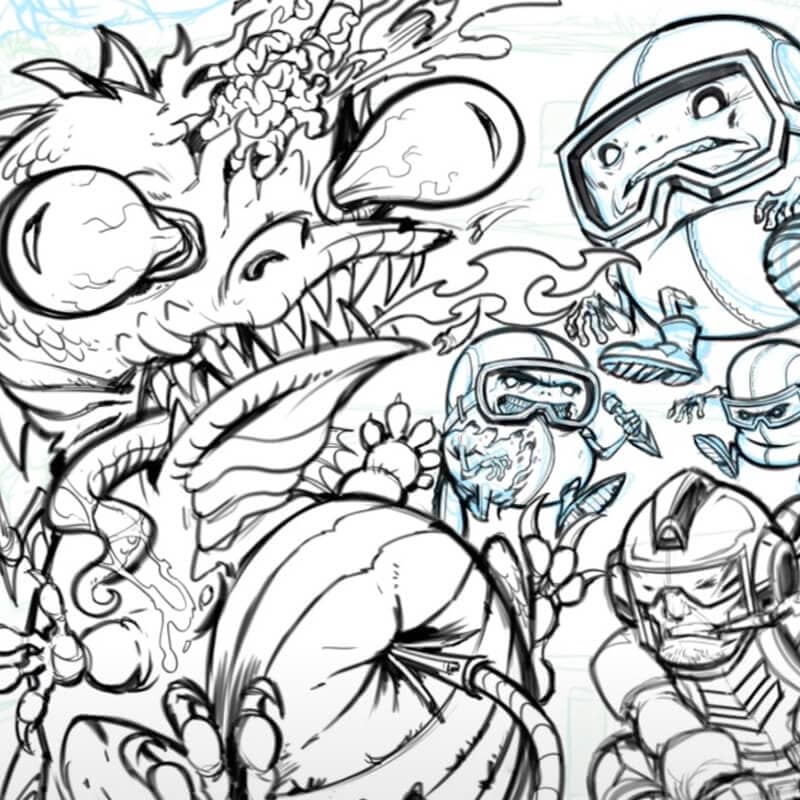
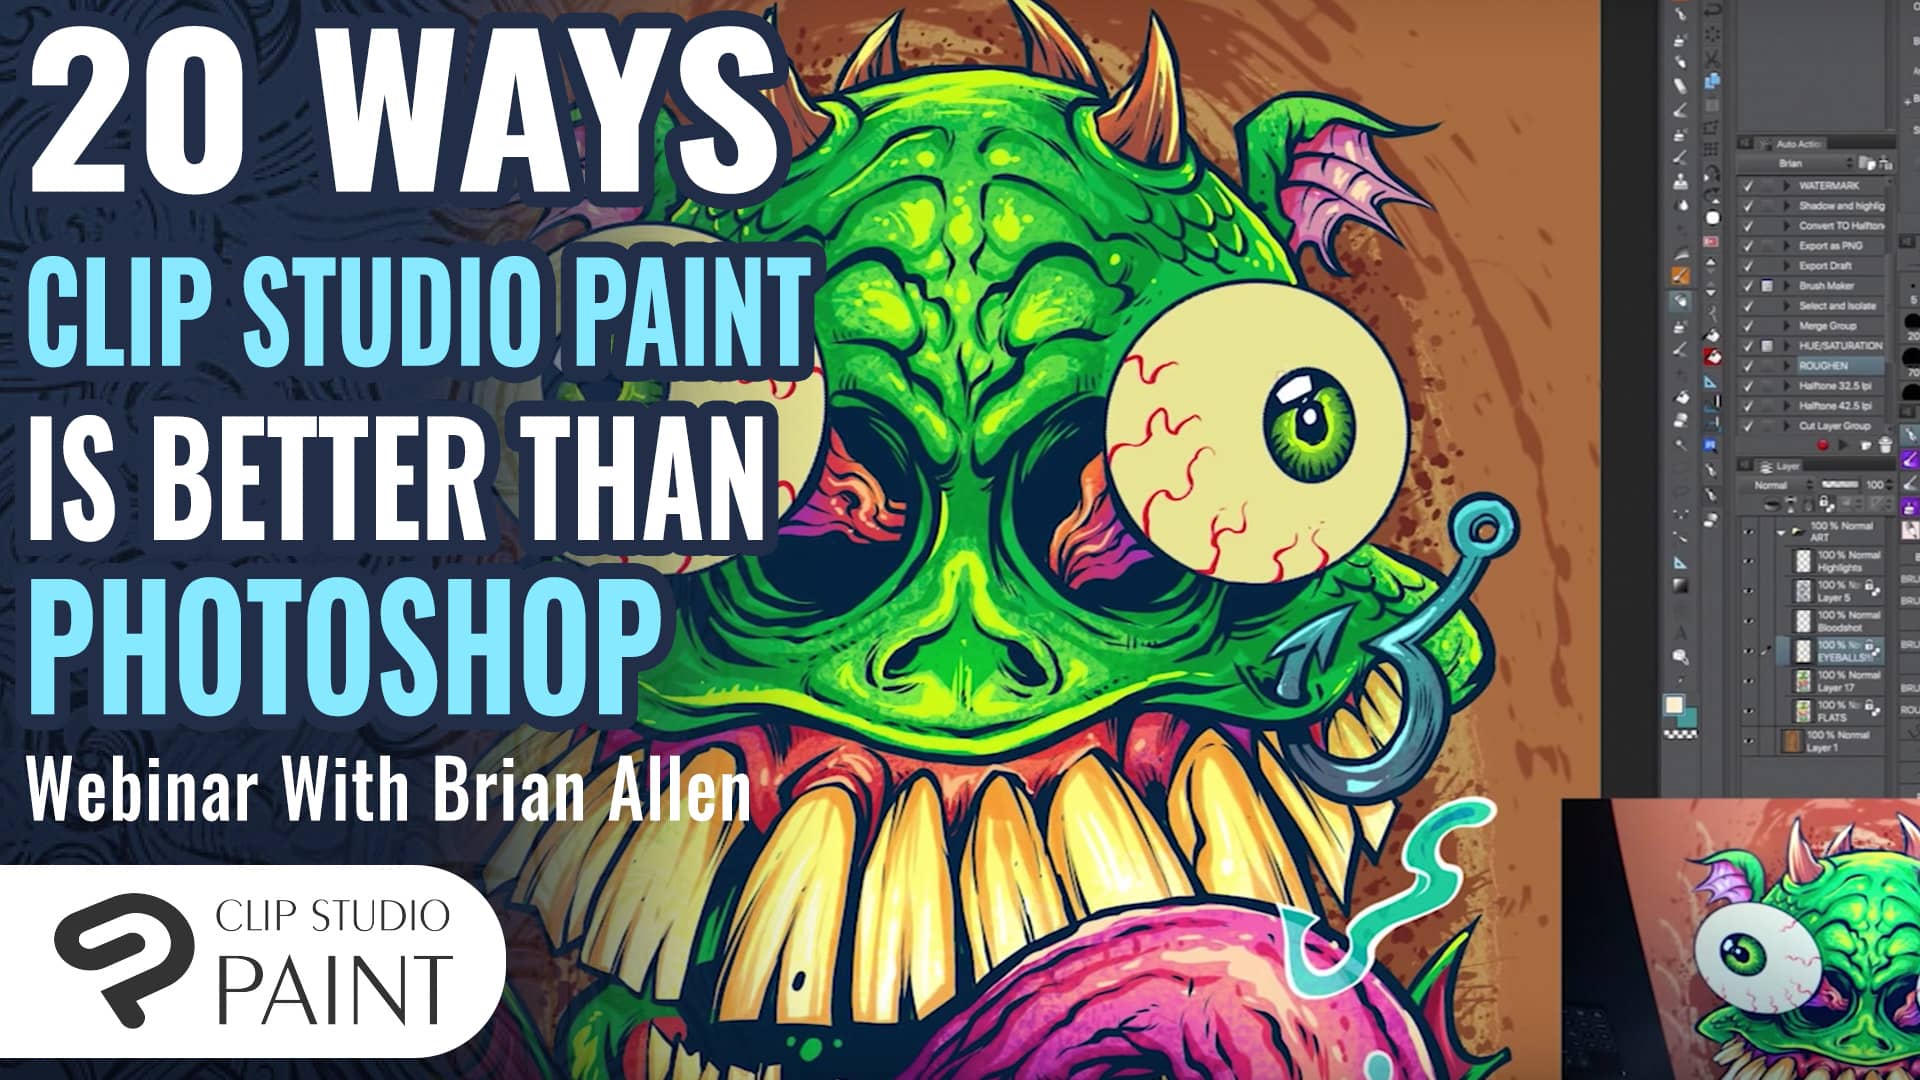
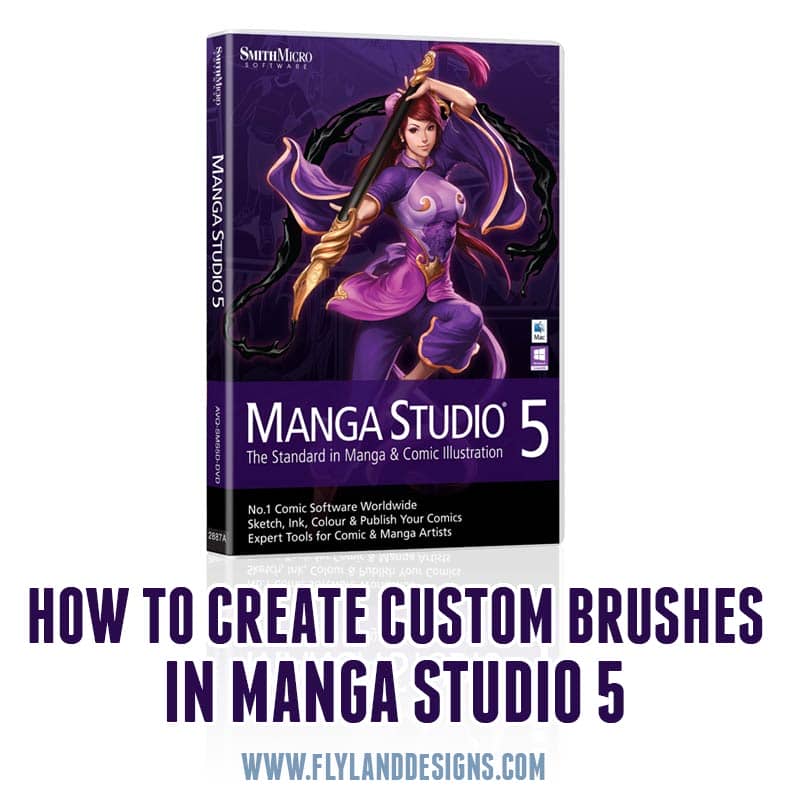
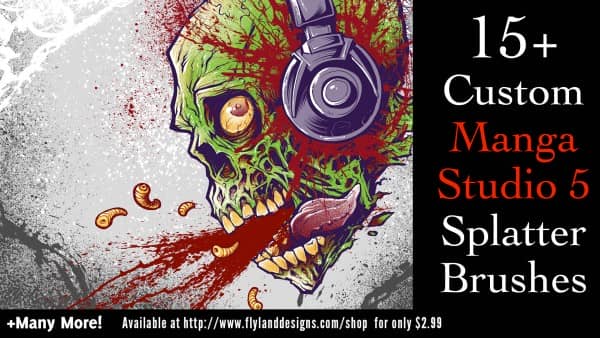
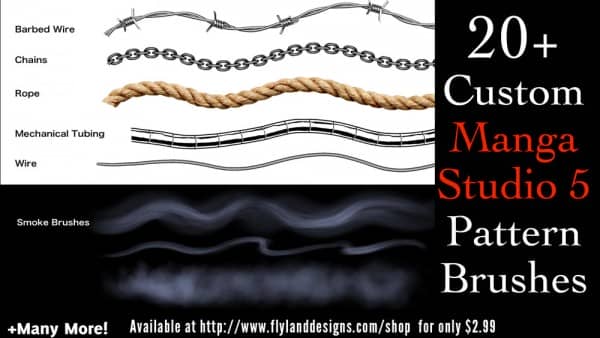
20 of the best Clip Studio Paint (Manga Studio 5) Features that make it better than Adobe Photo Shop
Brian Allen2025-08-27T11:01:29-04:00
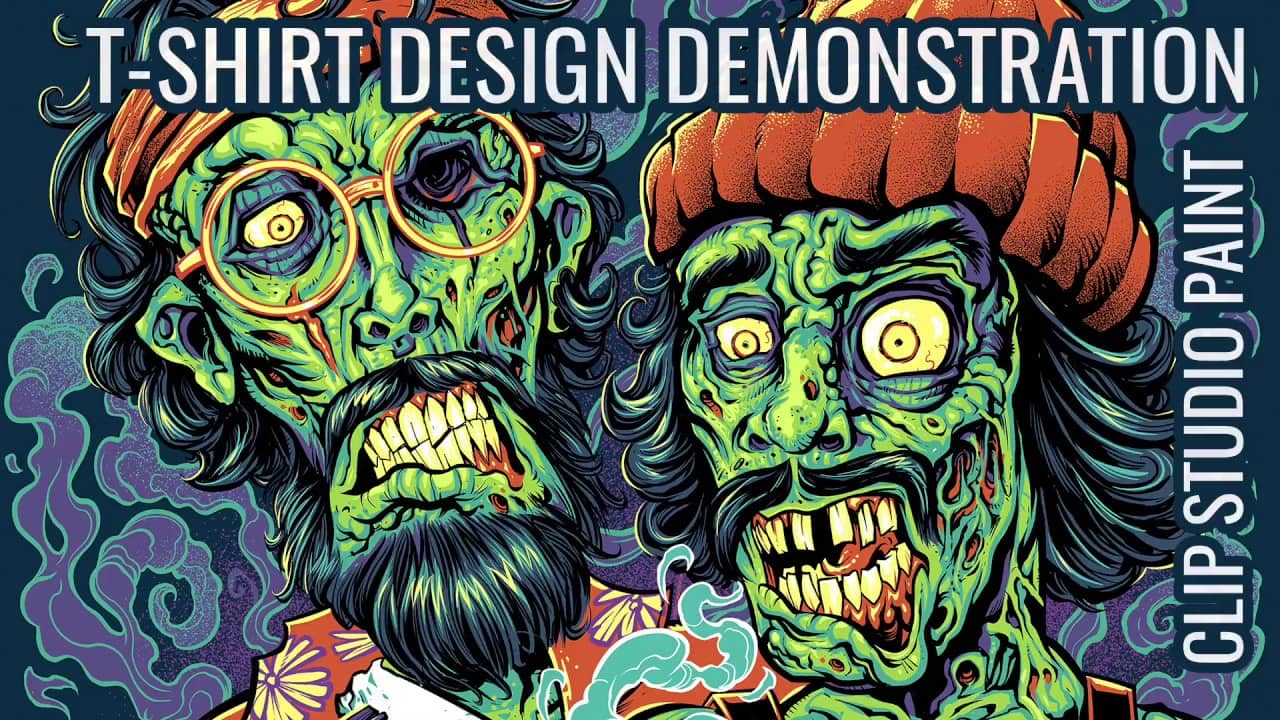
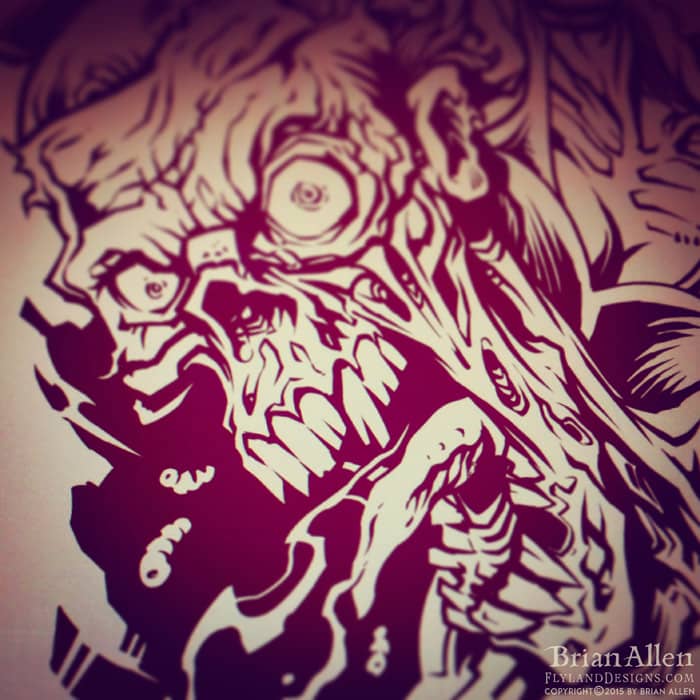
Speed Coloring T-Shirt Design in Clip Studio Paint Cheech and Chong Zombie
Brian Allen2017-12-12T10:10:17-05:00


My Brush and Pressure Settings in Manga Studio 5 (Clip Studio Paint)
Brian Allen2017-09-02T10:26:39-04:00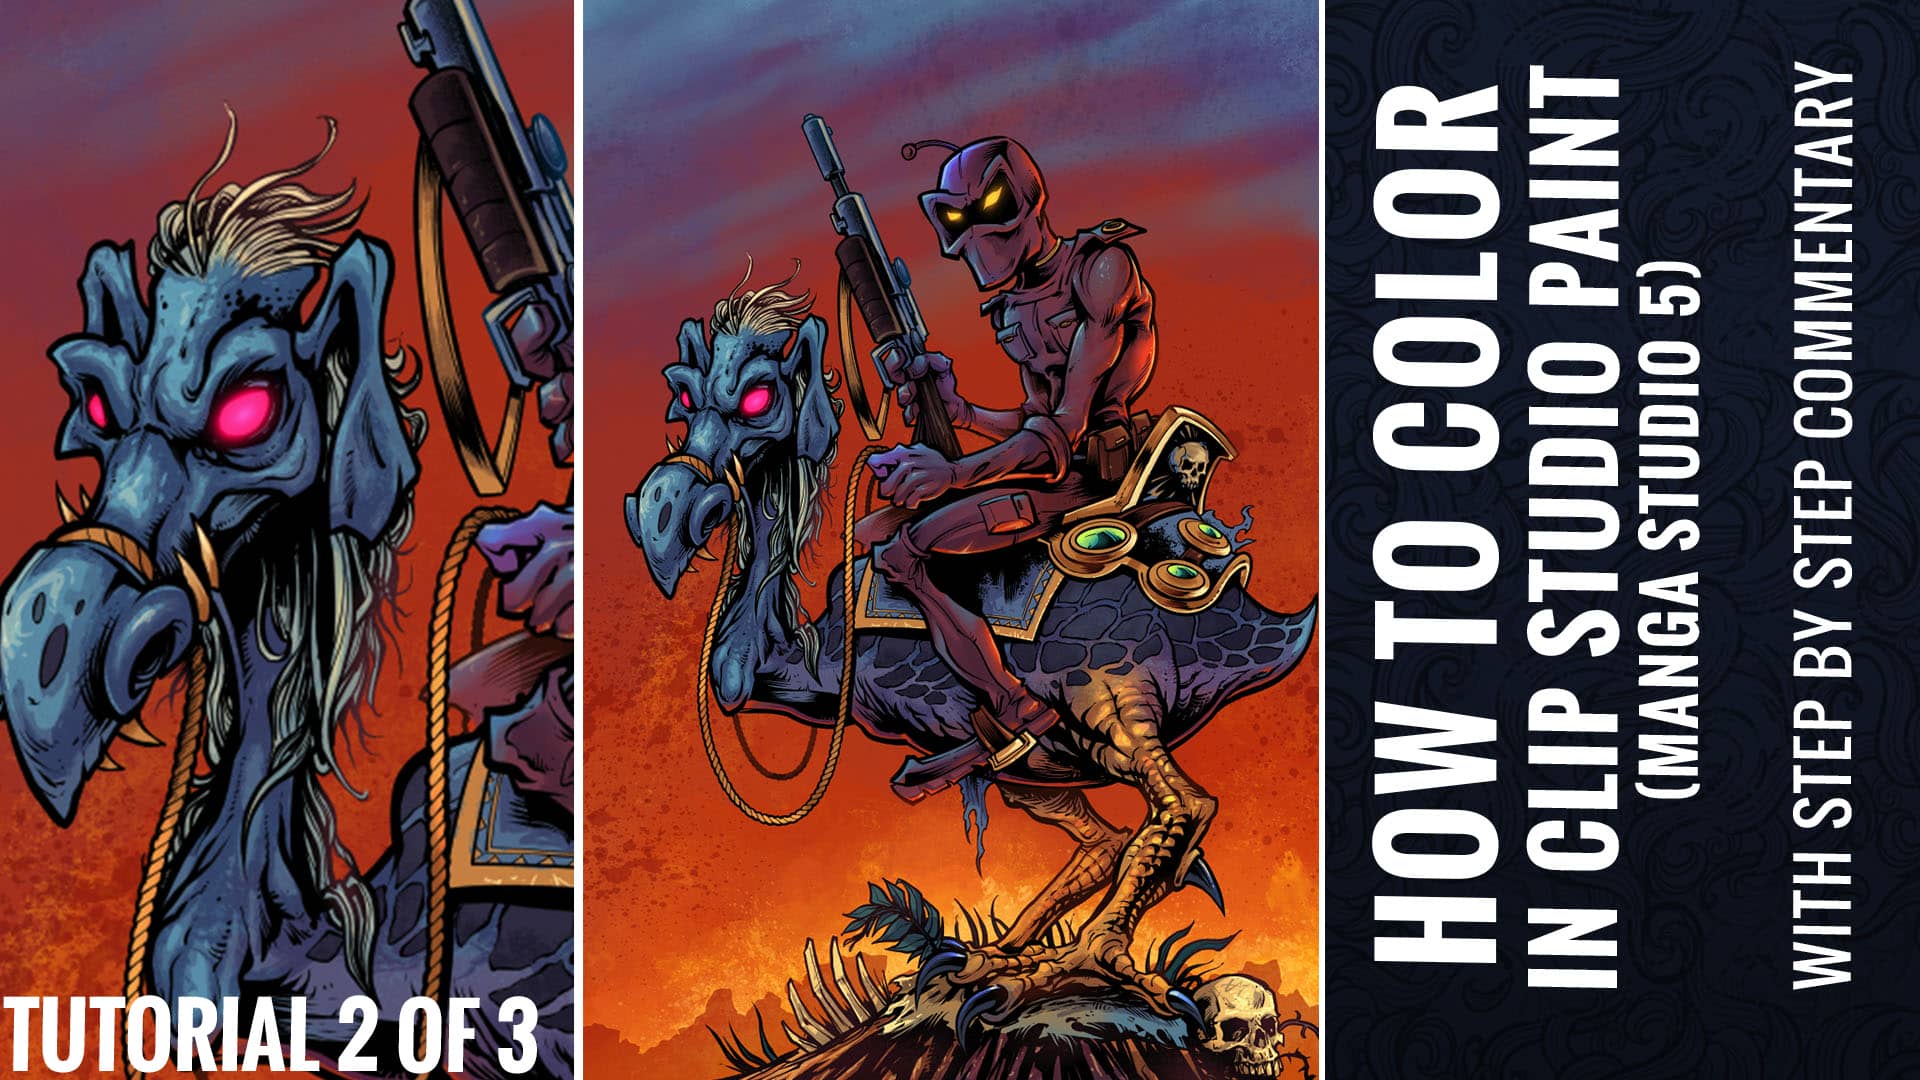
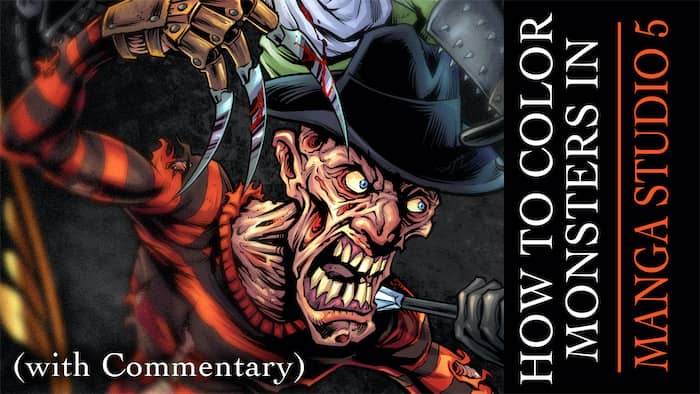
Tutorial 3 of 3 – How To Color Artwork in Clip Studio Paint (Manga Studio 5)
Brian Allen2016-11-08T16:34:21-05:00
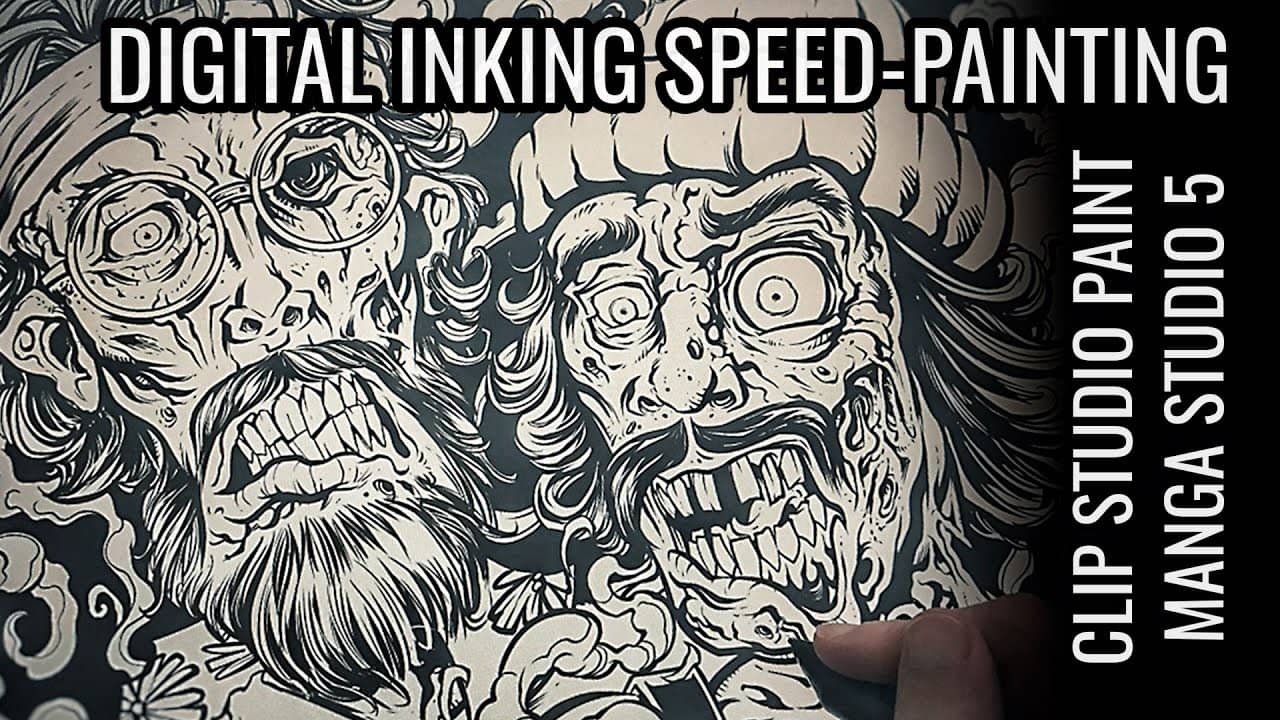
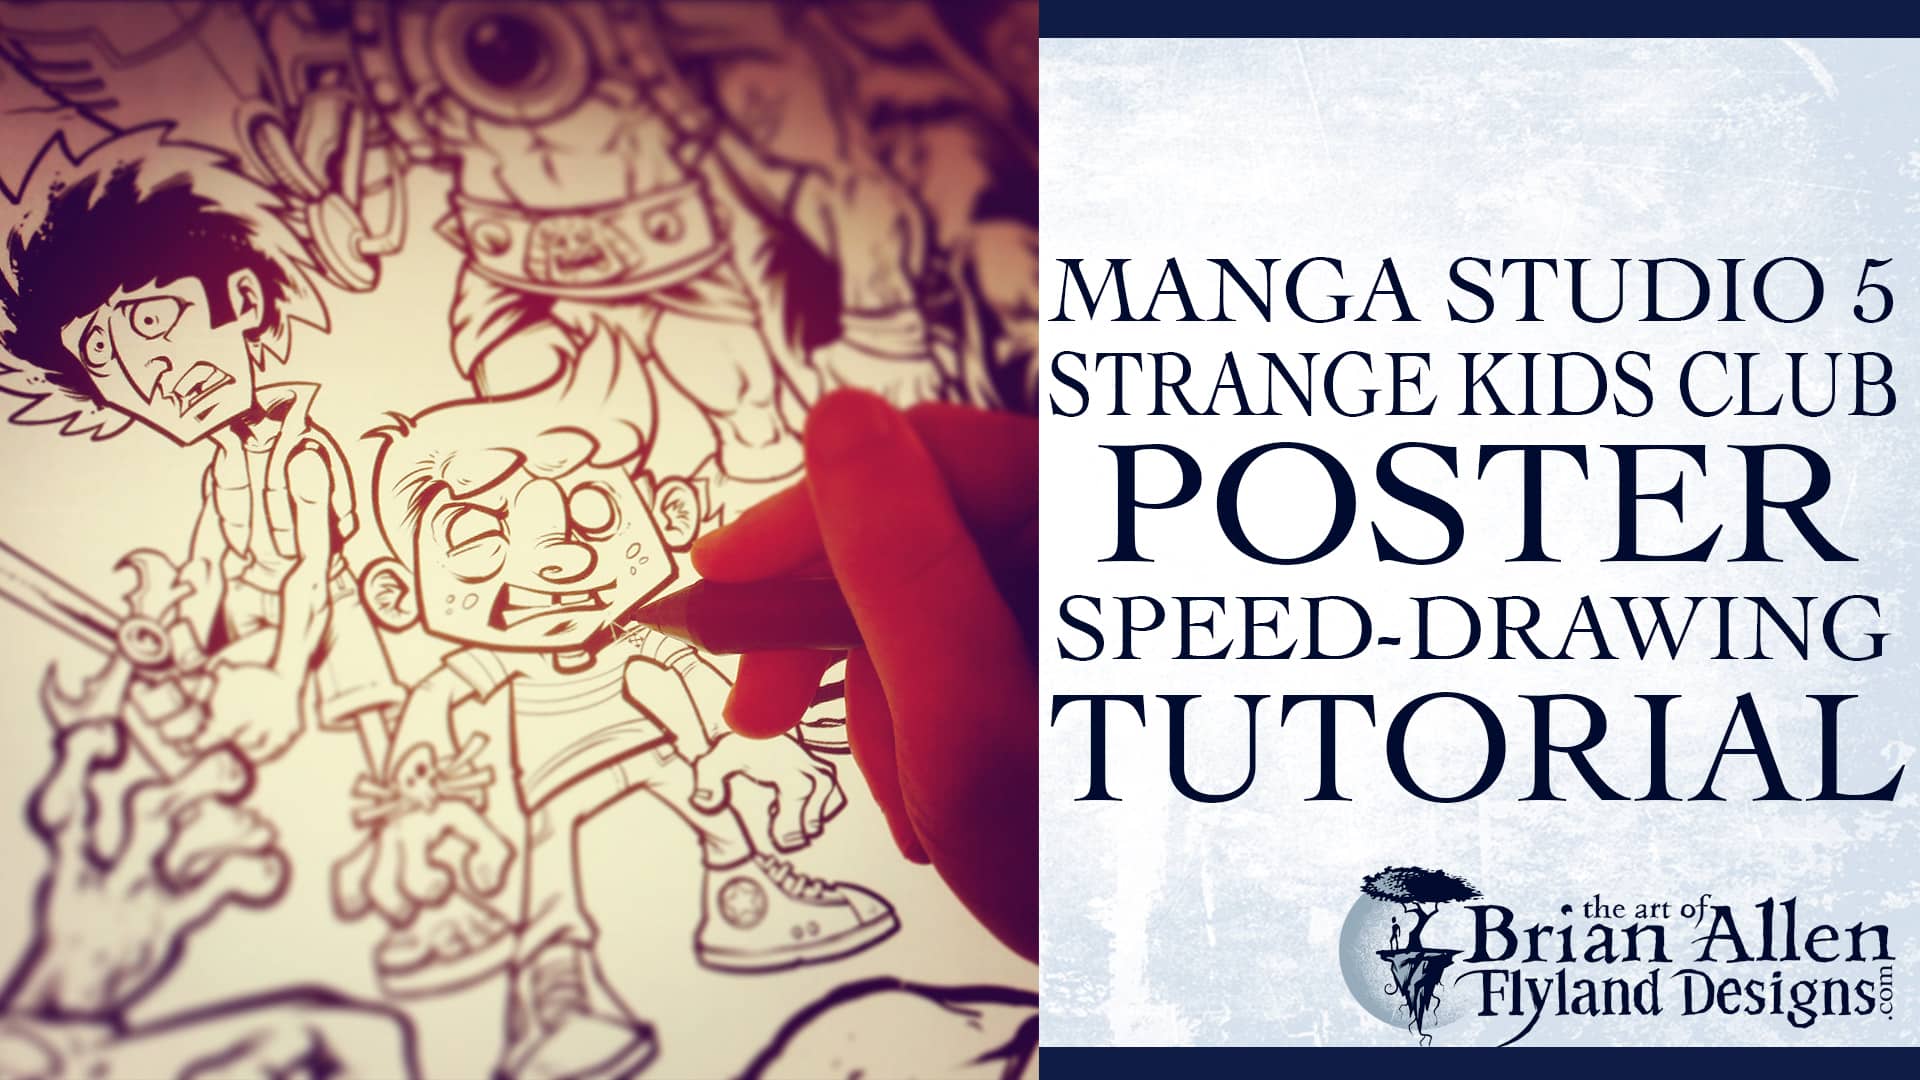
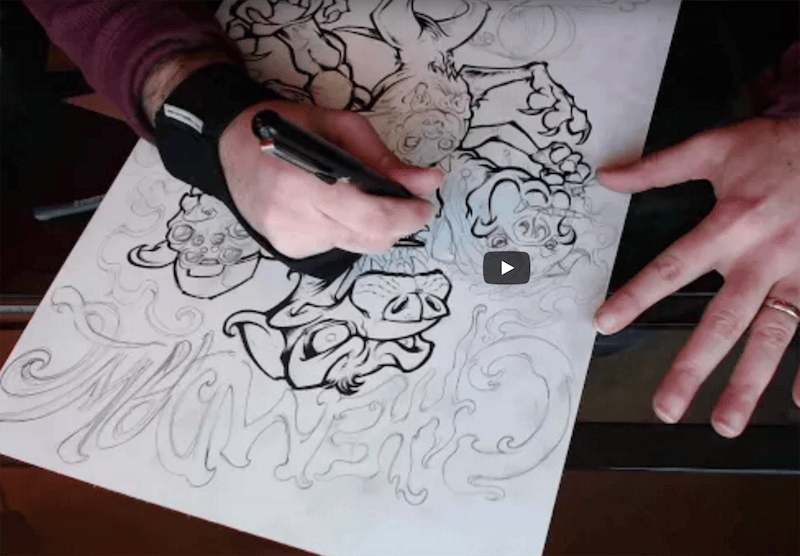
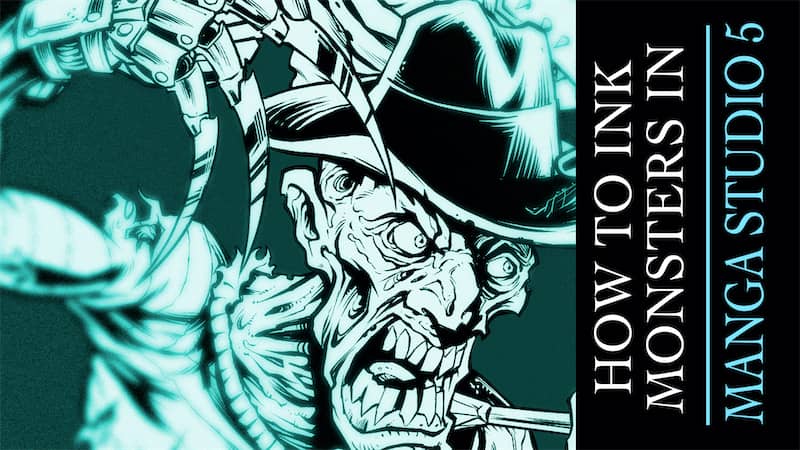
Tutorial 2 of 3 – How To Ink Artwork in Clip Studio Paint (Manga Studio 5)
Brian Allen2018-05-03T11:27:46-04:00


