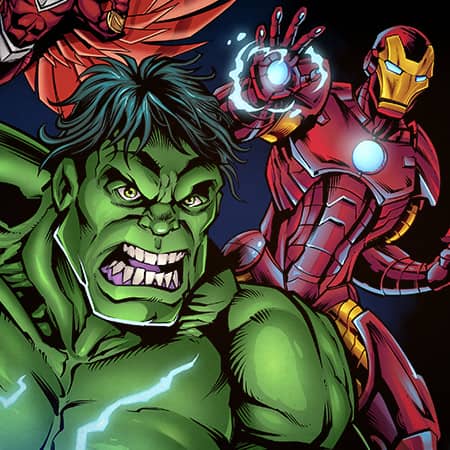
Marvel Superheroes Group Shot T-Shirt
Brian Allen2018-05-03T11:27:46-04:00Talk about a dream job! I was fortunate enough to be hired to create an officially licensed t-shirt of Marvel superheroes to be sold in retail outlets.
Talk about a dream job! I was fortunate enough to be hired to create an officially licensed t-shirt of Marvel superheroes to be sold in retail outlets.
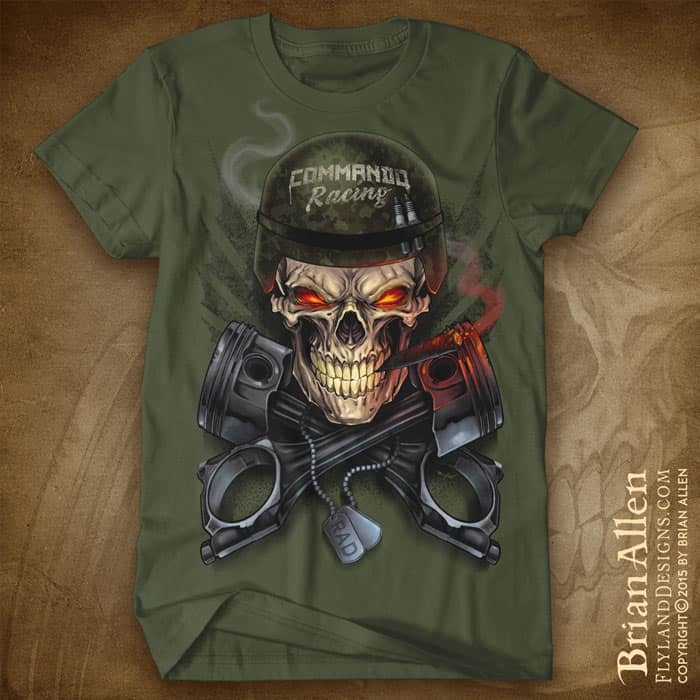
Racing t-shirt illustration I created of an angry skull smoking a cigar above two crossed pistons for Commando Racing.
This illustration I created won a contest to be one of the official Rick and Morty T-shirts available from Adult Swim on cartoon network!
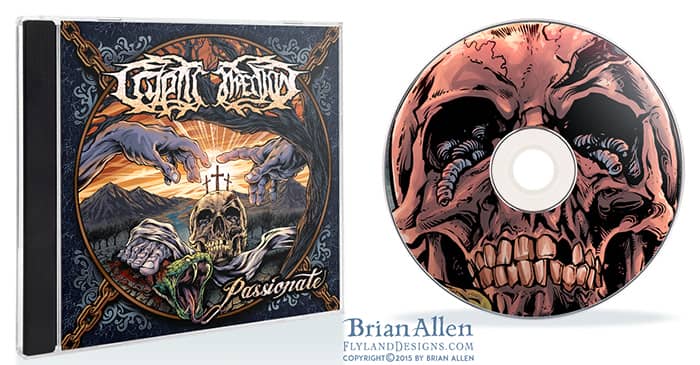
Heavy metal album cover I illustrated of a skull and snake for the band Cryptic Affection.
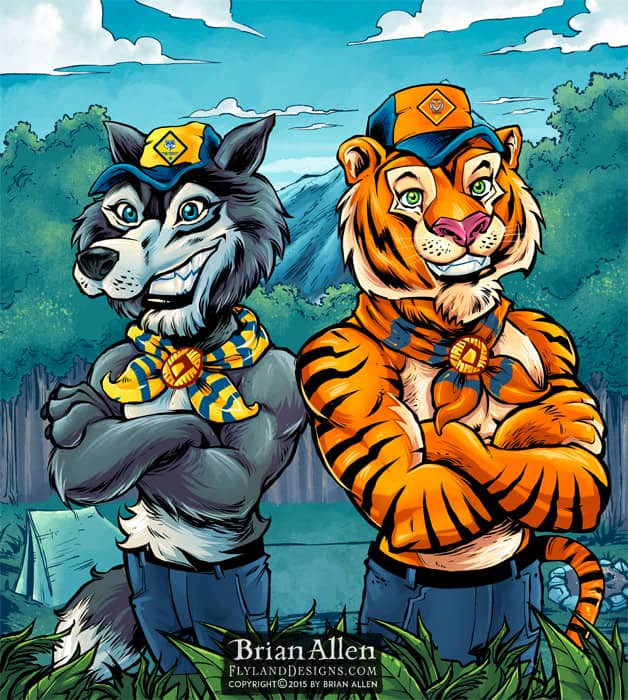
Wolf, Tiger, and Bear mascot character designs for Boy Scouts of America
Oh, you know, just drawing a demon playing the piano wearing a flaming tuxedo, because it's my job. [...]
Copyright © 2016 by Brian Allen Copyright © 2016 by Brian Allen Personal Project [...]
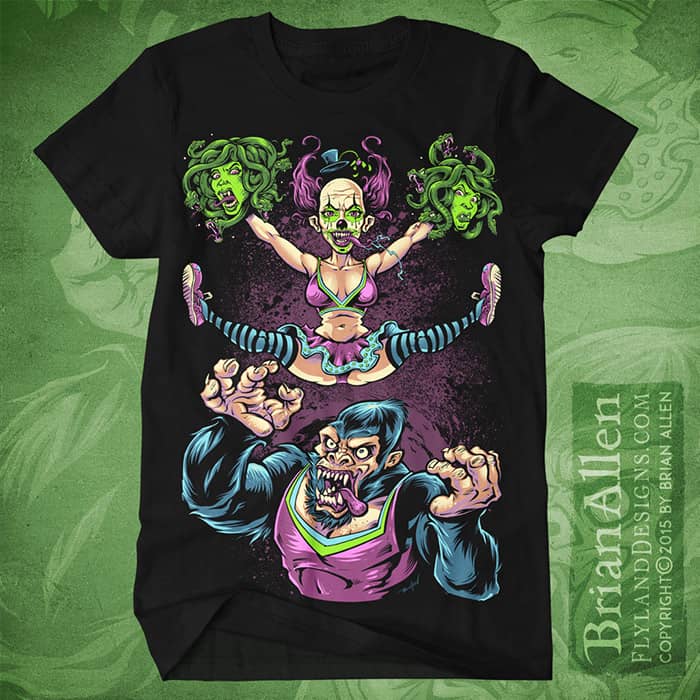
Silk-screen t-shirt I designed of a scary cheerleader clown and monkey for an apparel brand.
I created this huge set of custom brushes for Manga Studio 5 (Clip Studio Paint) - over 100 [...]
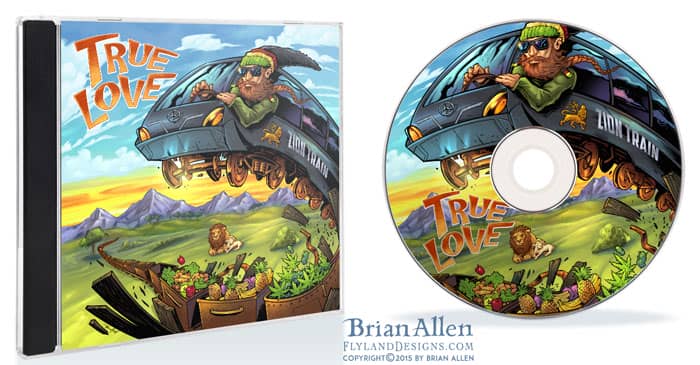
Album cover I created for the artist Brian Blake of Zion Train for his album entitled True Love.
Making some progress on this album cover illustration for Hang The Jester - sketching digitally in Manga Studio, [...]
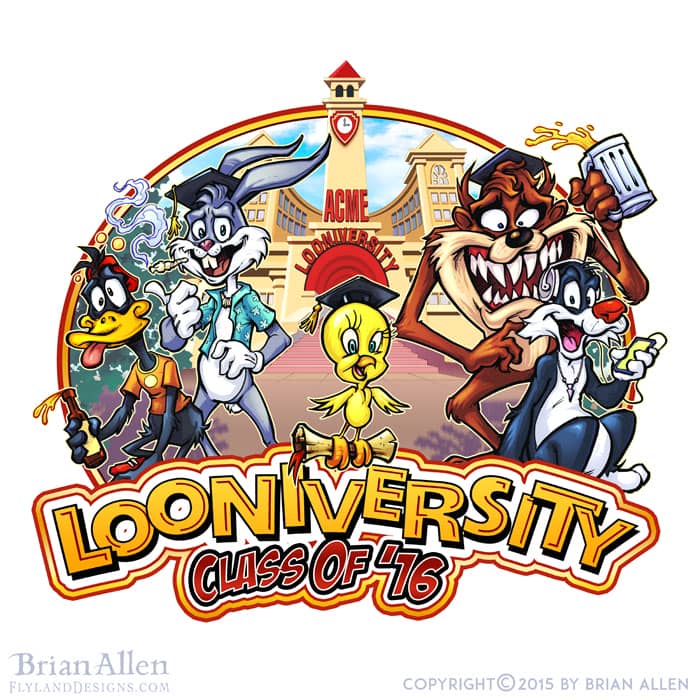
Russ logo design I created of the Bugs bunny and the Looney Tunes gang standing in front of the Looney Tunes University.
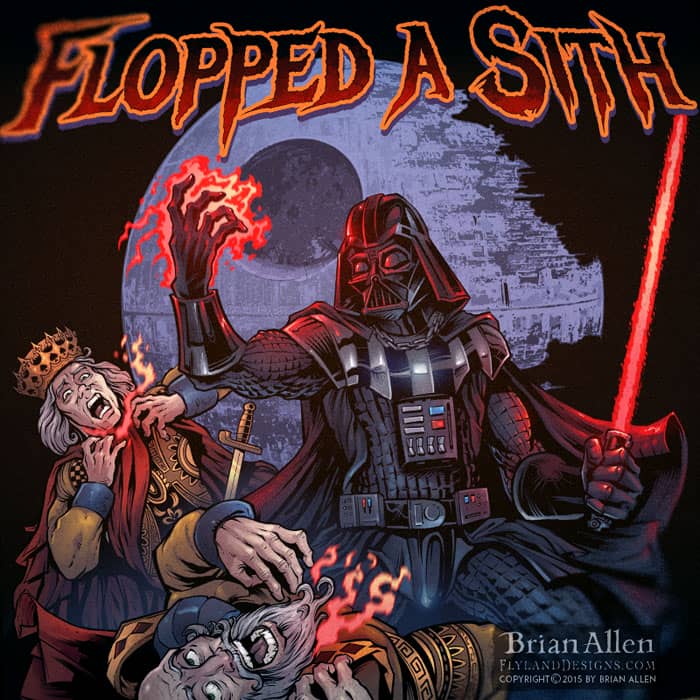
T-Shirt illustration I created for a poker apparel company, featuring a tribute of Darth Vader force-choking out two Kings
Inking a skeleton plant playing a ukulele for a organic fabric pot brand called Grass Roots#art #illustration #tshirt [...]
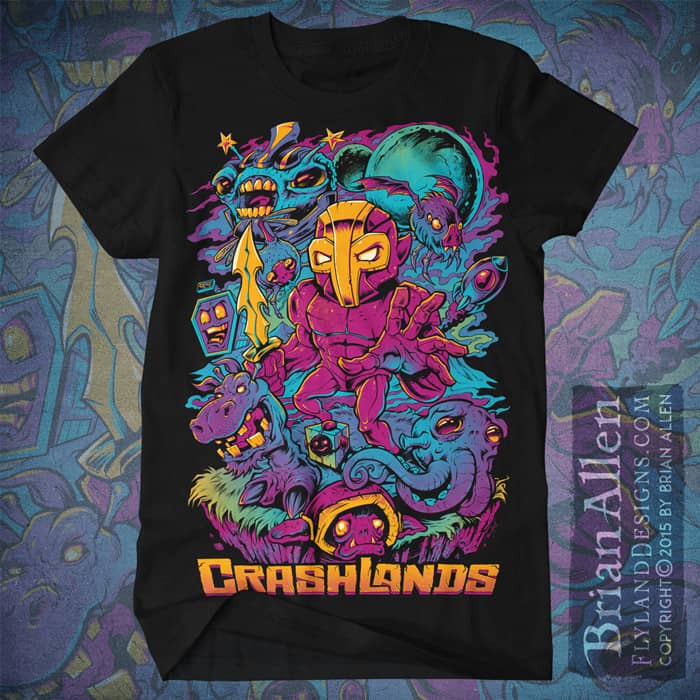
T-Shirt design I created for Butterscotch Shenanigans to celebrate their insanely popular adventure game Crashlands
Here's my final tribute artwork to Peace from the animated film Wizards - really happy with how this [...]
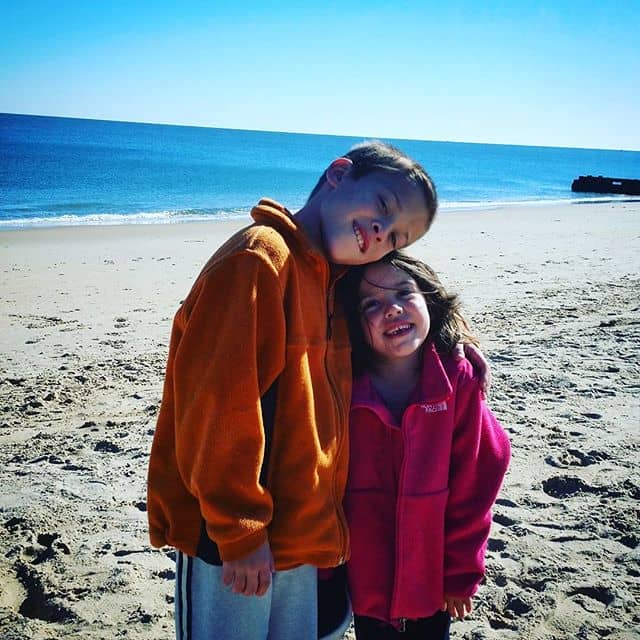
At the beach today, just a couple months too late New Artwork From Instagram
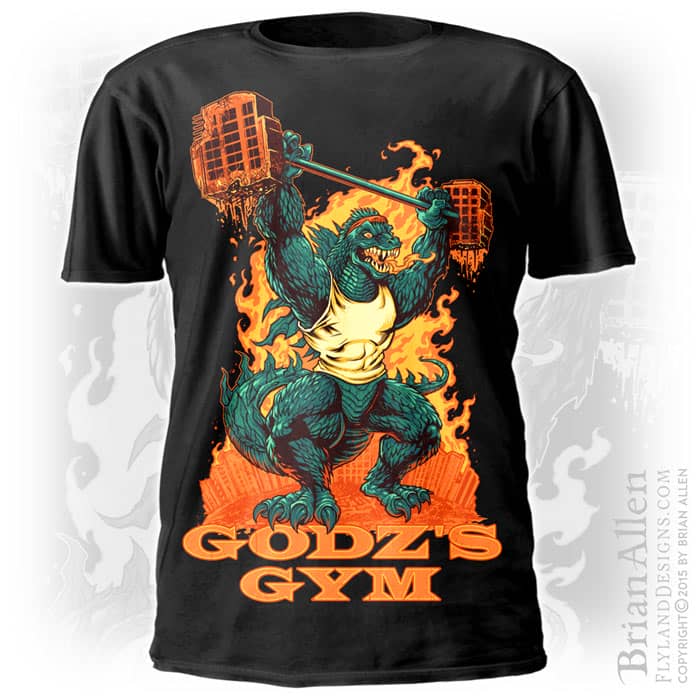
Parody illustration I created of Godzilla lifting weights made of the city he just destroyed.
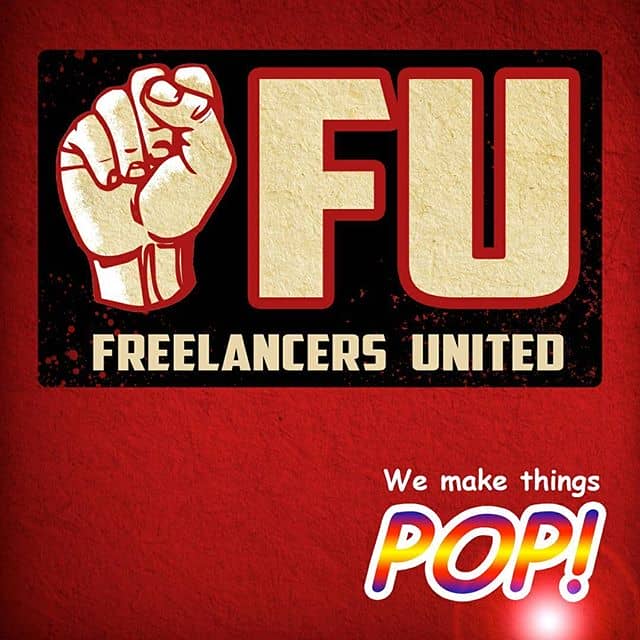
I'm a member of this really great private freelance artist group on Facebook - if you're interested in [...]
Just put up a full length inking tutorial on you tube the other day. New Artwork From Instagram
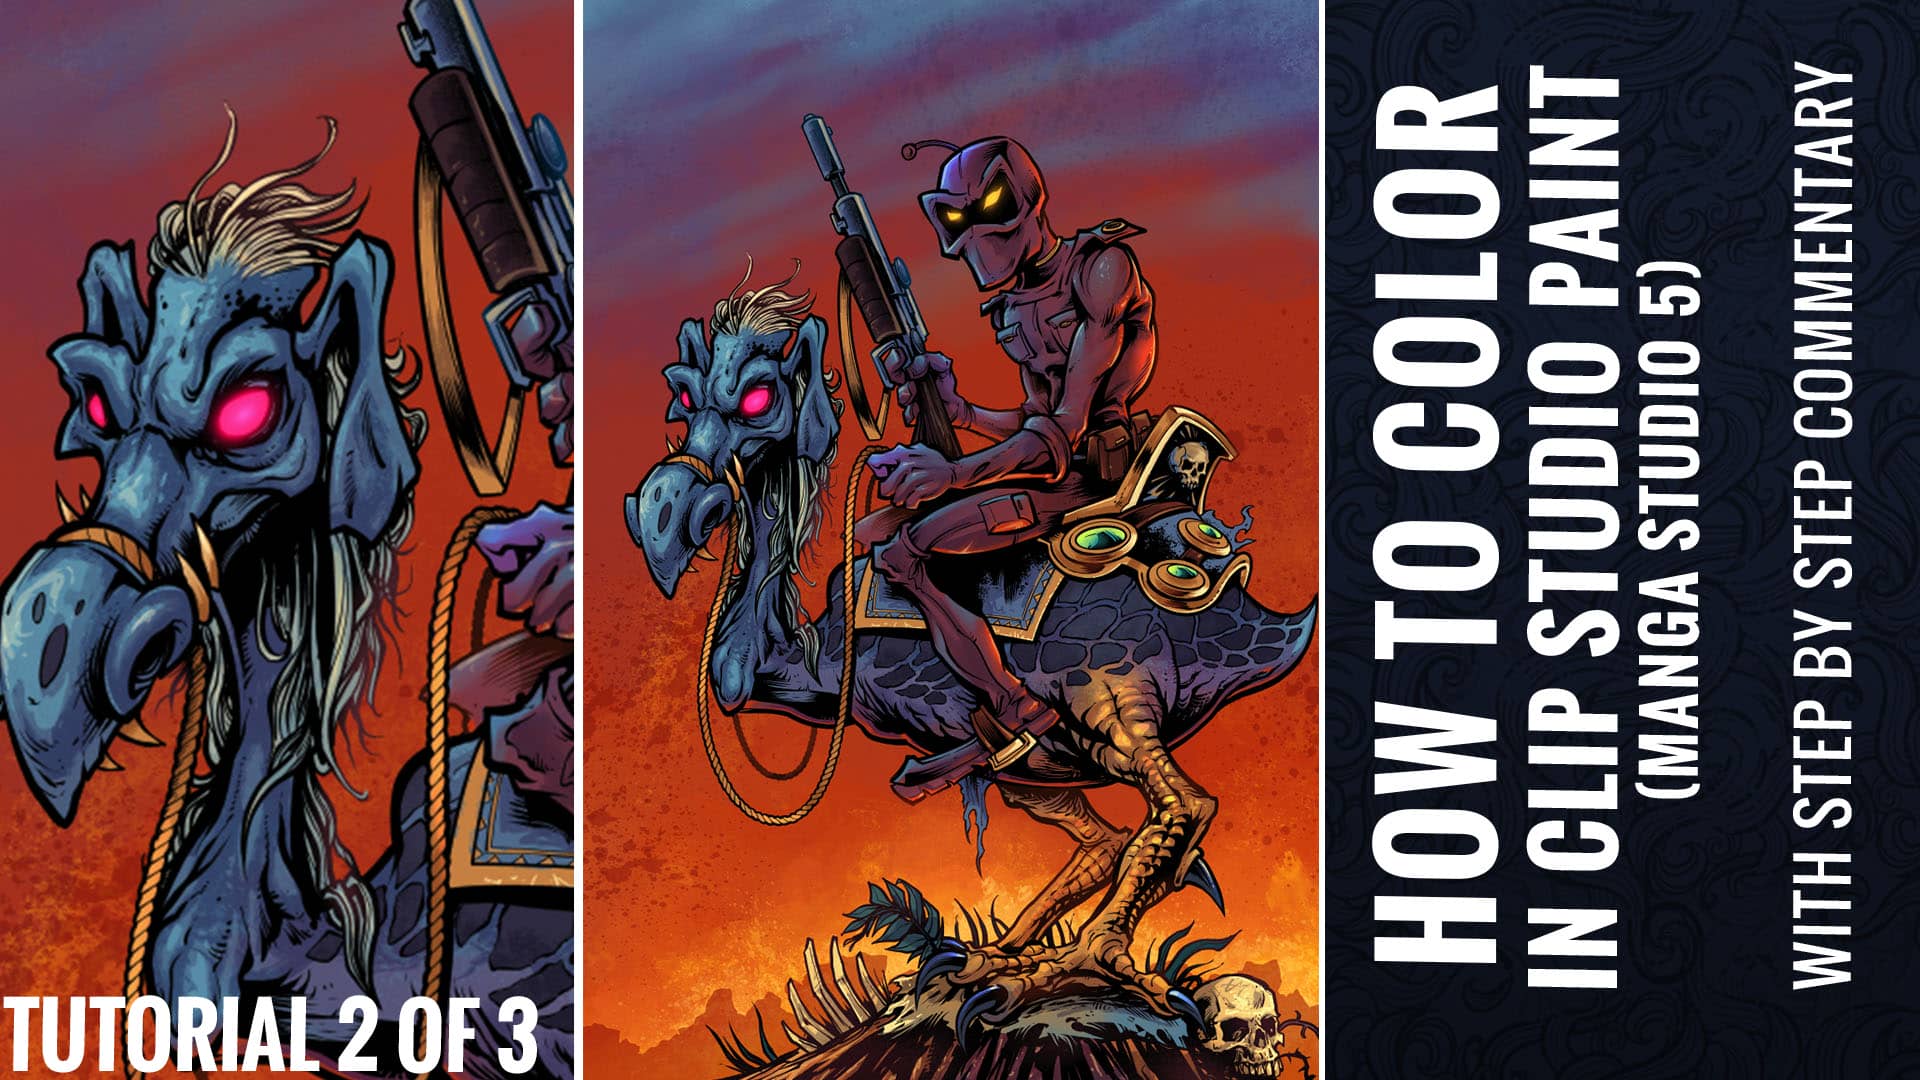
Full tutorial with commentary Part 3 of 3 - How To Color Artwork in Clip Studio Paint (Manga Studio 5)
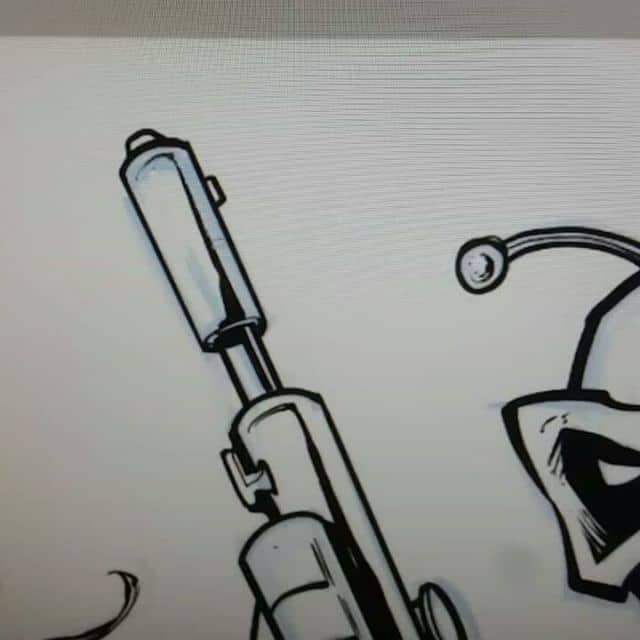
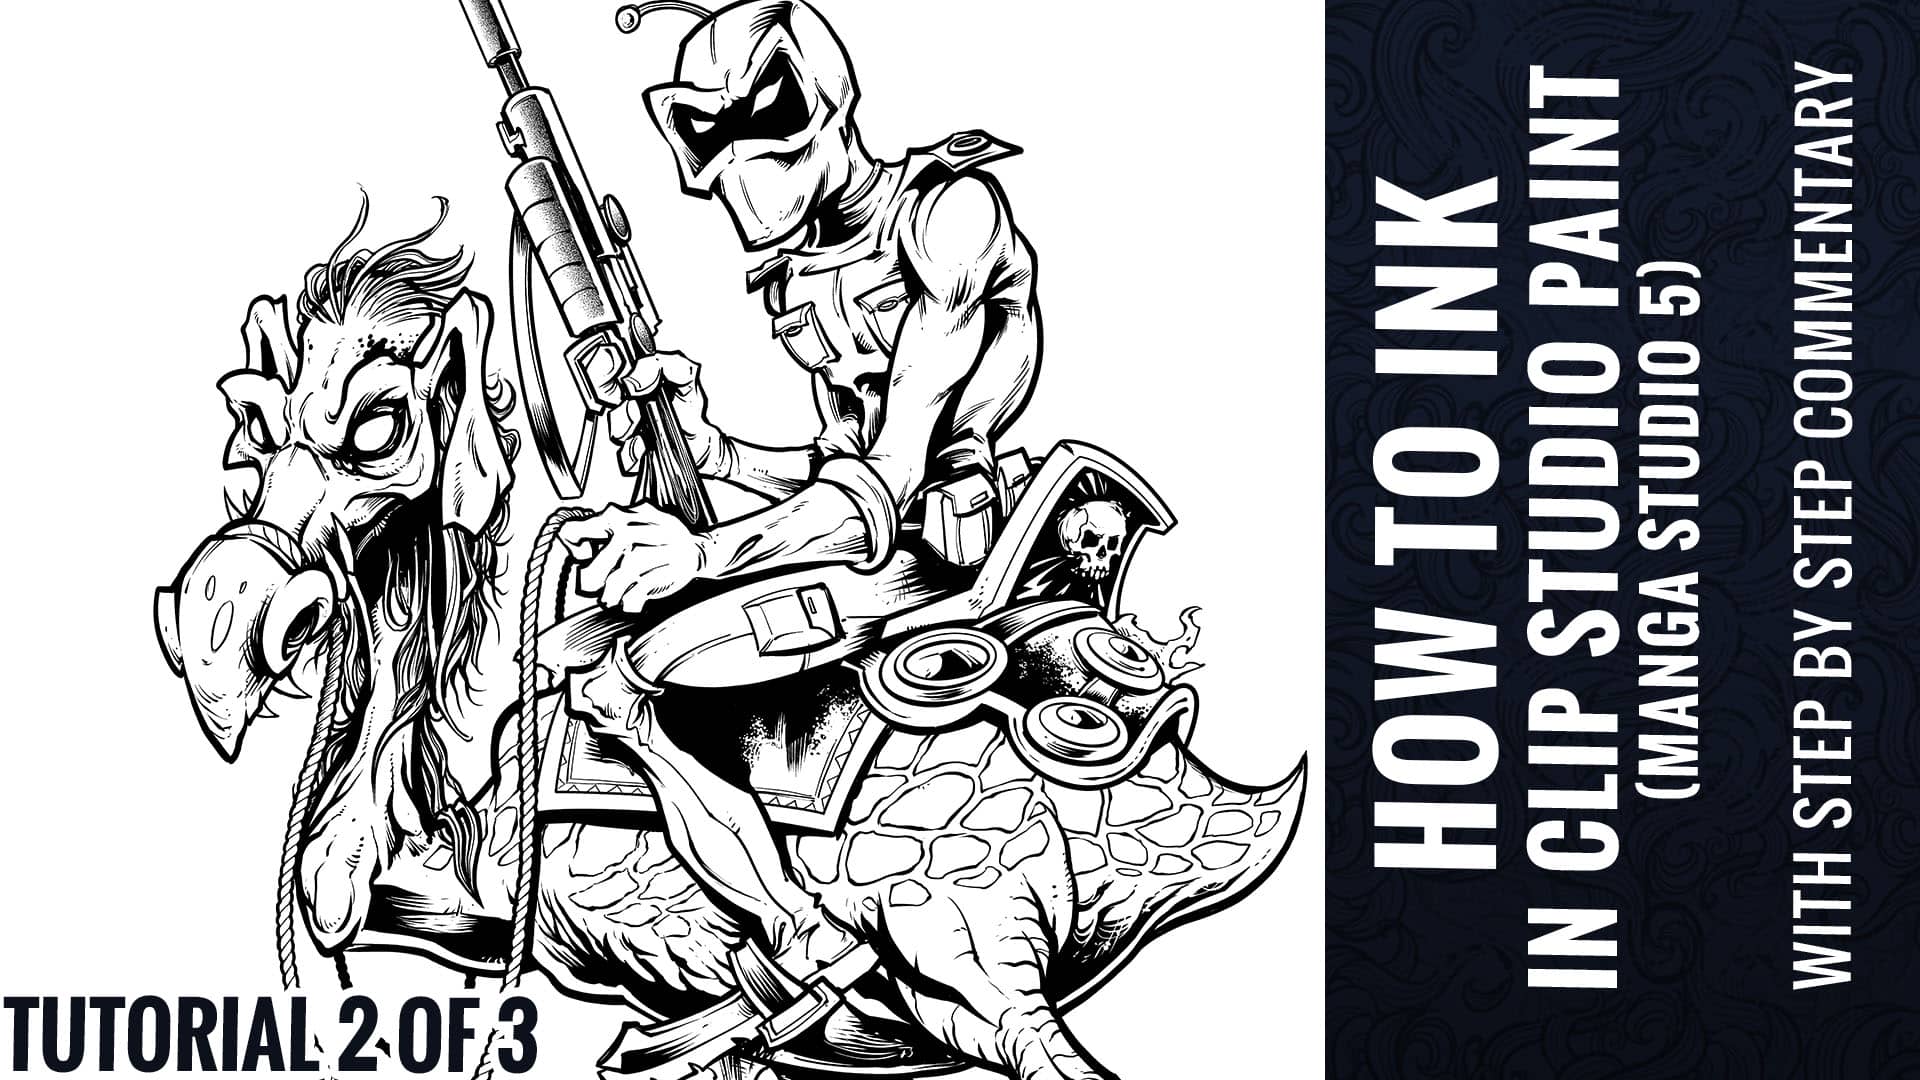
How I ink in Manga Studio 5 (Clip Studio Paint) Part 2 of 3 of a full tutorial with commentary.
[av_two_third first av_uid='av-13asm4q'] Copyright © 2016 by Brian Allen Copyright © 2016 by Brian Allen [...]
A series of character designs I created for an adventure/strategy card game for a developer
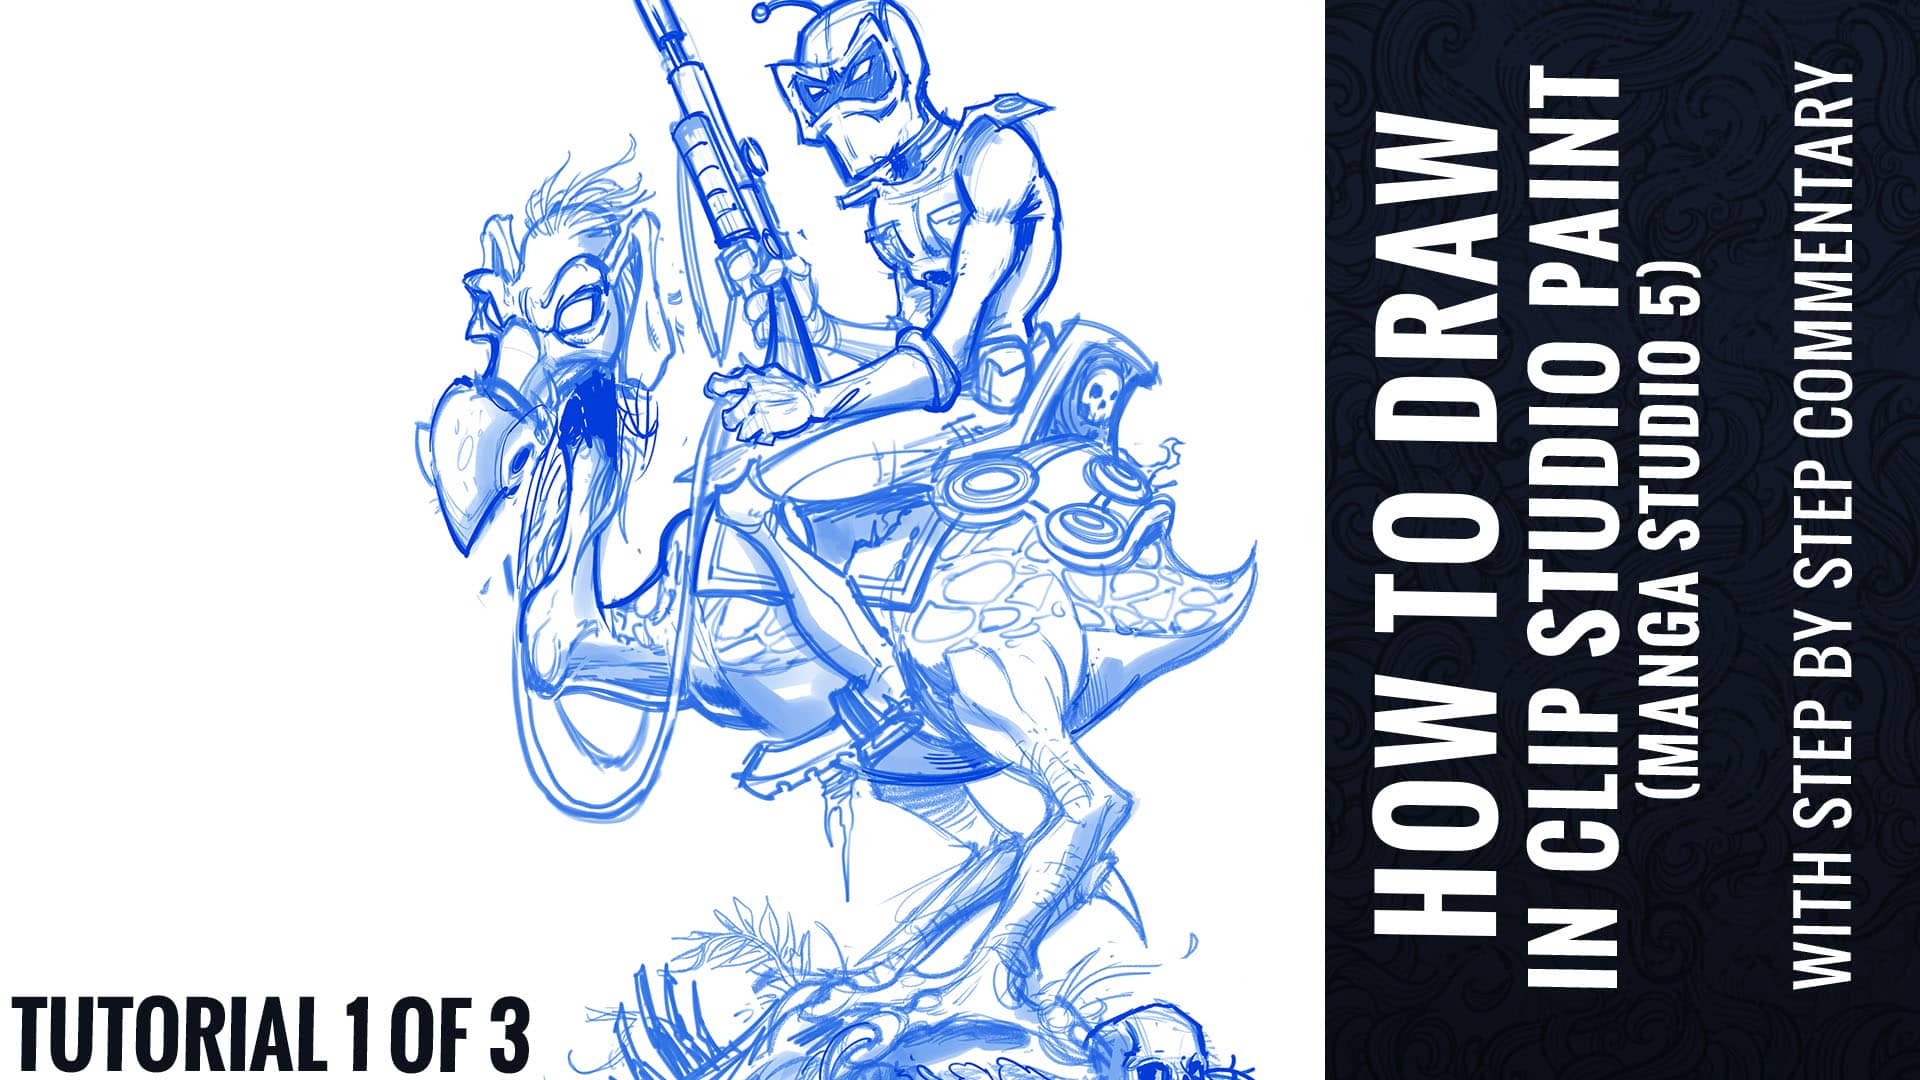
Tutorial video - How To Draw in Clip Studio Paint (Manga Studio 5) Tutorial Part 1 of 3 - With Full Commentary


